Straight answer
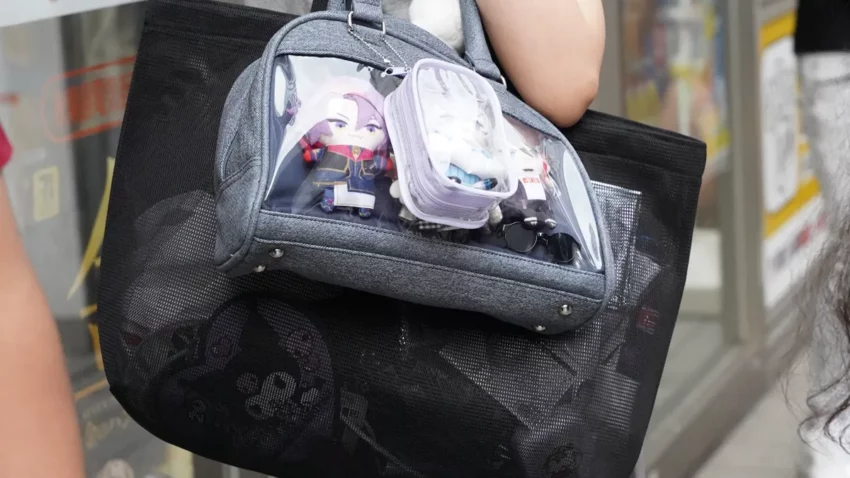
What is an ita bag? It’s a bag with a clear window that fans pack with pins, badges, acrylic stands and plush from one character or series. The name comes from the Japanese 痛バッグ, “painful bag,” a joke about how embarrassing, expensive and heavy a fully loaded one gets.
You’ve seen them in con lines. A see-through bag, wall to wall with one character’s face.
It looks like chaos until you try to build one. Then it turns into geometry, weight and a lot of small decisions about pin backs. Here’s how the whole thing works.
What is an ita bag, and why is it called painful?
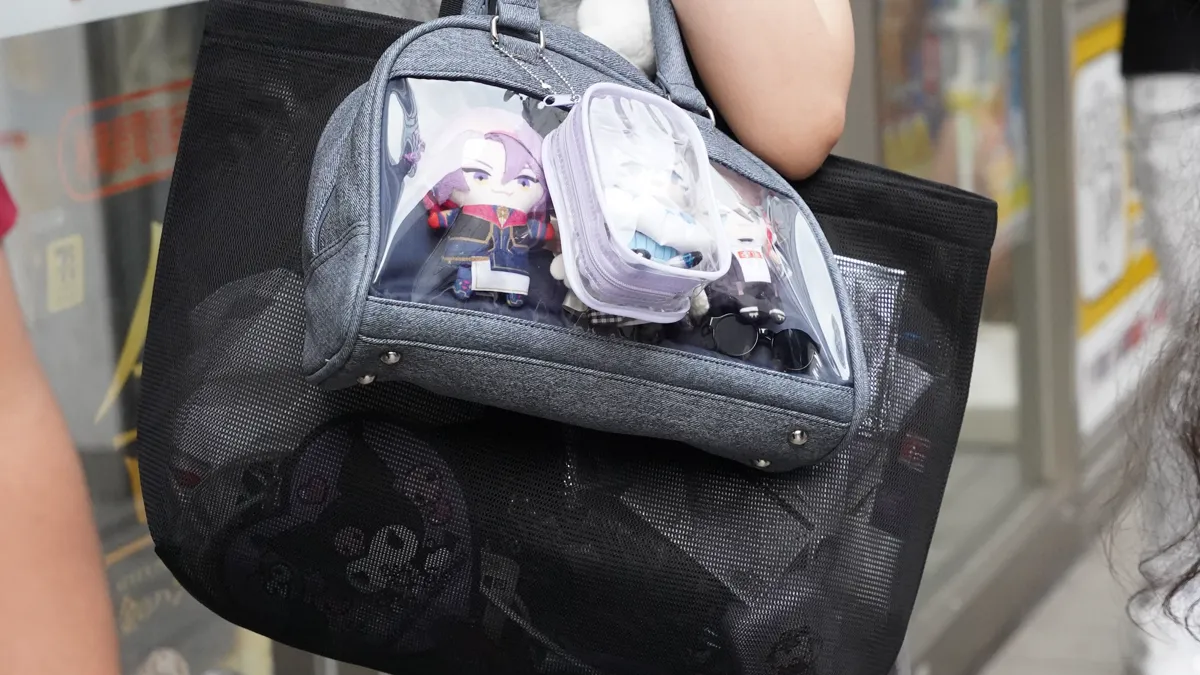
An ita bag is a handbag, tote or backpack covered in fandom merchandise, usually behind a clear display window. Wikipedia’s ita-bag entry translates the Japanese 痛バッグ (ita baggu) as “painful bag,” from itai, painful, and says the bags are especially popular with female anime and manga fans in Japan.
The pain is self-mockery. It first meant painfully embarrassing to look at, and fans have since stretched the joke to the wallet and the shoulder. That kind of joking about your own obsession runs all through fan slang, the same way it does with the word we unpack in what is a weeb. It’s the bag cousin of itasha, the “painful car” covered in character decals, and that’s the only car you’ll hear about here.
FUN! JAPAN’s ita bag guide, updated in September 2026, traces the style to Japan in the early 2000s and says a 2017 contest run by the merch resale app Otamart drew around 1,800 entries.
What goes inside an ita bag?
An ita bag has three layers: the bag with its clear window, a removable insert behind the window that holds everything, and the merch on that insert. Pins and badges do most of the work. Acrylic stands, keychains and small plush fill gaps or take the center spot.
- Base bag: a tote, shoulder bag or backpack with a clear vinyl or TPU window. FUN! JAPAN also suggests a plain tote slipped inside a slightly larger clear bag.
- Insert: a stiff, fabric-covered board that slides in behind the window. You pin into the insert, so the bag never gets holes.
- Can badges: round printed metal badges, called pin-back buttons in English. The most common merch size in Japan is 57 mm, according to pixivFACTORY’s badge size guide.
- Enamel pins, acrylics and plush: shaped pins with a clutch on the back, light clear acrylic cut-outs, and plush or ribbon rosettes that frame a hero piece.
Honest take: nobody hands out an ita bag license. If it’s a bag that shows off what you love, loudly, it counts. Single-character bags are the classic look, not a rule.
How much do you need to spend on an ita bag?
You can start with a plain tote, a clear pouch and a few badges you already own, or sink serious money into one. The spend comes from repetition: a full grid of one character means buying the same badge again and again, and limited editions cost more on resale.
- Starter: a bag you own inside a clear pouch, a DIY insert and 5 to 10 pieces. FUN! JAPAN points beginners to clear pouches from 100-yen shops.
- Themed: a ready-made window bag sized to your collection, one theme color and a hero item in the middle.
- Full “painful” bag: a big window and a dense grid of repeat badges. Wikipedia cites a Kotaku report that some fans spend more than the equivalent of US$1,000 on one bag.
The low-key alternative to a full ita bag
Not everyone wants to haul a full window of pins to work. The low-key route is a single pin on a plain bag strap, one keychain, or clothing with a small, quiet design that fellow fans recognize and everyone else reads as normal style. Same idea, turned way down.
If you’d rather wear the fandom than carry it, shops like 8xGear make subtle fandom pieces built for everyday outfits, and our guide on how to wear anime shirts covers keeping prints small enough for work. Plenty of people do both: a quiet shirt on weekdays, the painful bag on con weekends.
How to make an ita bag in six steps
To make an ita bag, measure the clear window, pick a theme, build a stiff insert that fits behind it, plan the layout flat, pin through the insert’s front layer, then test it in the bag. Order matters. Most first-bag problems start with buying pins before measuring the window.
- Measure the window, not the bag. Japanese layout guide Kiyoai stresses that “A4” or “A3” labels describe the whole bag; the window is smaller.
- Pick one theme. It decides what goes in and what stays home.
- Build the insert. Card stock sags under metal. In an r/itabag thread on plastic canvas inserts, builders covered plastic canvas or foam with fabric, and one tip was to round the corners so they don’t wear the zipper.
- Lay it out flat. Biggest item in the center, slightly above the middle. Photograph it before pinning.
- Pin through the front layer. See the pin security section below.
- Test, then walk. Anything that slides when you pace the room will fall off on a con floor.
How many pins fit in an ita bag window?
Divide the window’s width by the badge diameter and round down, do the same with the height, then multiply. That’s how many badges fit edge to edge. For a 330 x 260 mm window and 57 mm badges: 330 ÷ 57 = 5.8, so 5 across; 260 ÷ 57 = 4.6, so 4 down; 5 x 4 = 20 badges.
The grid method comes from Kiyoai’s layout guide, which measured the real windows on four ready-made Japanese bags. The leftover space is where layouts go wrong:
- Spare room: 5 badges take 285 mm of 330, leaving 45 mm across and 32 mm down. Use it as even gaps or a ribbon border.
- One more column: 6 badges need 342 mm, 12 mm too wide. Spread over 5 gaps, each badge overlaps its neighbor by 2.4 mm, so 6 x 5 = 30 badges works if you accept slight overlap.
- When to stop: past about a fifth of the badge in overlap, the art gets hidden. That’s my rule of thumb, not a standard.
| Clear window (measured) | 32 mm badges | 57 mm badges | 76 mm badges | 57 mm grid weight | Bag + badges |
|---|---|---|---|---|---|
| 270 x 205 mm (10.6 x 8.1 in), small | 48 (8 x 6) | 12 (4 x 3) | 6 (3 x 2) | 120 g | about 620 g |
| 330 x 260 mm (13.0 x 10.2 in), A4-class | 80 (10 x 8) | 20 (5 x 4) | 12 (4 x 3) | 200 g | about 700 g |
| 360 x 260 mm (14.2 x 10.2 in), large | 88 (11 x 8) | 24 (6 x 4) | 12 (4 x 3) | 240 g | about 1,040 g |
| 420 x 300 mm (16.5 x 11.8 in), A3-class | 117 (13 x 9) | 35 (7 x 5) | 15 (5 x 3) | 350 g | about 1,150 g |
Method: badges edge to edge, count = floor(width ÷ diameter) x floor(height ÷ diameter). Window sizes from Kiyoai. Badge weights from a Japanese badge shop’s spec list (57 mm 10 g, 76 mm 18 g). Bag bodies at 500 g (A4-class) and 800 g (larger) per Kiyoai. Your own things not included.
Notice the 76 mm column barely moves: 260 mm of height only fits 3 rows of big badges either way. Small 32 mm badges more than triple the count, which is why mixed-size layouts feel fuller.
How heavy is an ita bag?
A loaded ita bag usually weighs from about half a kilo to well over a kilo before your own things go in. The formula: weight of one badge x number of badges, plus the empty bag, plus what you carry. A 57 mm can badge weighs about 10 g, according to equipment maker Graphic Kizai’s badge size guide.
Take the A3-class row: 35 badges at 10 g is 350 g, plus roughly 800 g of bag, about 1.15 kg. Add water, a battery pack and a phone and you’re near 2 kg on one shoulder for an eight-hour con day.
Fans feel it. On an r/itabag thread about the weight, a first-timer said even a small bag felt heavy with only a notebook, pens and headphones inside. Replies said switch shoulders often, wear it crossbody, move to a backpack style or a wider strap, and one person with old shoulder injuries just went down to a smaller bag.
Here’s the strap math behind that. The same load on a 5 cm (2 in) strap spreads over 2.5 times the width of a 2 cm (0.8 in) strap, so it presses into your shoulder with roughly 40% of the force per centimeter. Two straps halve it again. The American Academy of Pediatrics’ HealthyChildren backpack safety page caps a child’s pack at 15% of body weight and says to use both straps. There’s no adult number, but the two-strap advice works for anyone.
How do you keep pins from falling off?
Keep the window zipped, pin everything into a sturdy insert, and swap standard butterfly clutches on enamel pins for locking or rubber backs on anything you can’t replace. The window is your first layer of protection. The backs are the second, and beginners skip them most.
Wikipedia’s butterfly clutch article says the standard clutch is less secure than other fasteners, especially through thick material or under a heavy item. An ita bag insert is both.
- Can badges: in an r/itabag thread on pinning buttons flat, the fix was pushing the pin through only the insert’s front fabric layer, so the board doesn’t ripple. Thin inserts get a cardboard backer.
- Enamel pins: fit locking backs, then tug each pin from the front.
- Sun: one r/itabag poster found the backing fabric had yellowed only where sun reached through the window.
Honest take: check your backs before every con, not after. The con floor is the worst place to hunt for a lost pin.
How do you change the theme without buying a new bag?
Build a second insert. Since everything is pinned to the removable board, not the bag, you can keep one bag and swap whole layouts in a minute. Make each insert the exact size of the window, store the spare flat, and you have a new bag for every fandom or event.
One r/itabag builder posted a set of handmade inserts for a single everyday bag in September 2026, each built around 2 to 4 main items each, at roughly US$10 to $15 in materials per insert, merch not included.
- Trace the first insert so the size matches.
- Pick a neutral bag color (black, white, gray) that suits any theme.
- Store spares flat, pins facing in, away from light.
Ita bag etiquette at cons and in public
Check your con’s official bag policy page before you build big, keep the bag close in crowds, and expect it to be searched. Many large cons cap bag size and some events inside the con ban bags entirely. A wide ita bag can break the limit before you add a single pin.
As of October 2026, Anime Expo’s event policies allow no bags over 14 x 12 x 6 inches and say any bag can be inspected. The 420 mm window in the table is 16.5 inches wide, so that bag fails on the window alone. Anime Central’s convention policies allow no bags at its EDM dances except a clutch or wristlet up to 4.5 x 6.5 inches. Rules change yearly, so read your own con’s page the week you go.
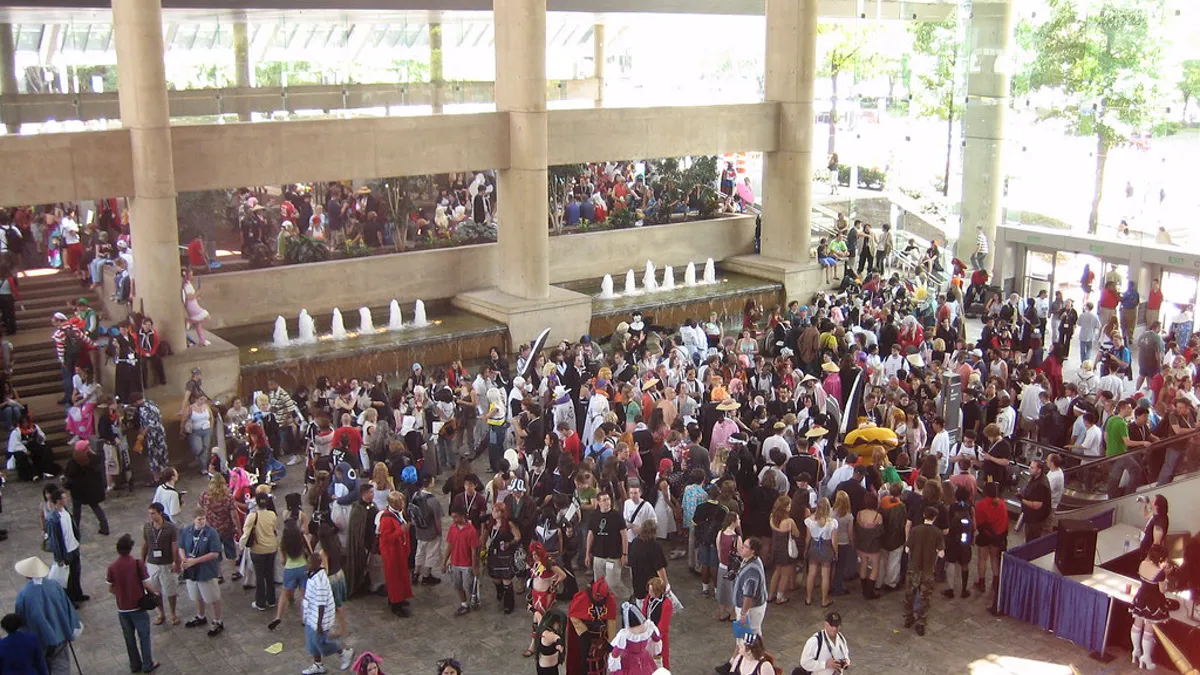
- Crowds and trains: wear it in front or hold it close. FUN! JAPAN’s etiquette notes warn that heavy bags bump people.
- Official events: FUN! JAPAN also says some fans find a bag of unrelated or fan-made merch out of place at another series’ official event. Bring the matching bag or a neutral one.
- Photos: ask the owner first, same as cosplay.
For the rest of your con kit, see our checklist on what to wear to an anime convention.
Fans also ask
Does an ita bag have to be about one character?
No. A single favorite character, your oshi, is the classic theme, but pairings, a whole cast or a multi-fandom bag all count. A tight theme just makes the layout easier to plan.
Can you use an ita bag every day?
Yes. Many fans carry one to class or work. Pick a smaller bag with a light insert, keep valuables in a closed inner pocket, and save the dense, heavy layout for cons.
Do ita bags have to be anime?
No. The style came from anime and manga fandom, but people build them for games, idols, bands and cartoons too. A clear-window bag packed with things you love counts.
What’s the difference between an ita bag and a pin bag?
A pin bag is any bag used mainly to display pins. An ita bag is the fandom term for a themed bag with a clear window and insert, often holding plush and acrylics too. Most ita bags are pin bags; not every pin bag is an ita bag.
How we researched this: the definition was checked against Wikipedia and Wiktionary’s ita-bag entries and FUN! JAPAN’s 2026 guide. Window sizes, the grid formula and bag weights come from Kiyoai’s Japanese layout guide; badge weights from Japanese badge maker and shop spec pages. Bag rules come from Anime Expo’s and Anime Central’s own policy pages, read in October 2026. Fan experiences come from public r/itabag threads. AI helped draft this guide; a human writer checked and edited it.
Sources: Wikipedia (Ita-bag, Butterfly clutch); Wiktionary (ita-bag); FUN! JAPAN ita bag guide; Kiyoai badge layout and weight guide; Graphic Kizai and pixivFACTORY badge size guides; NO FUR badge spec list; HealthyChildren.org; Anime Expo and Anime Central policies; r/itabag. More explainers in our otaku culture section.